

This is a continuation of the apple tree series. Part one can be found here.
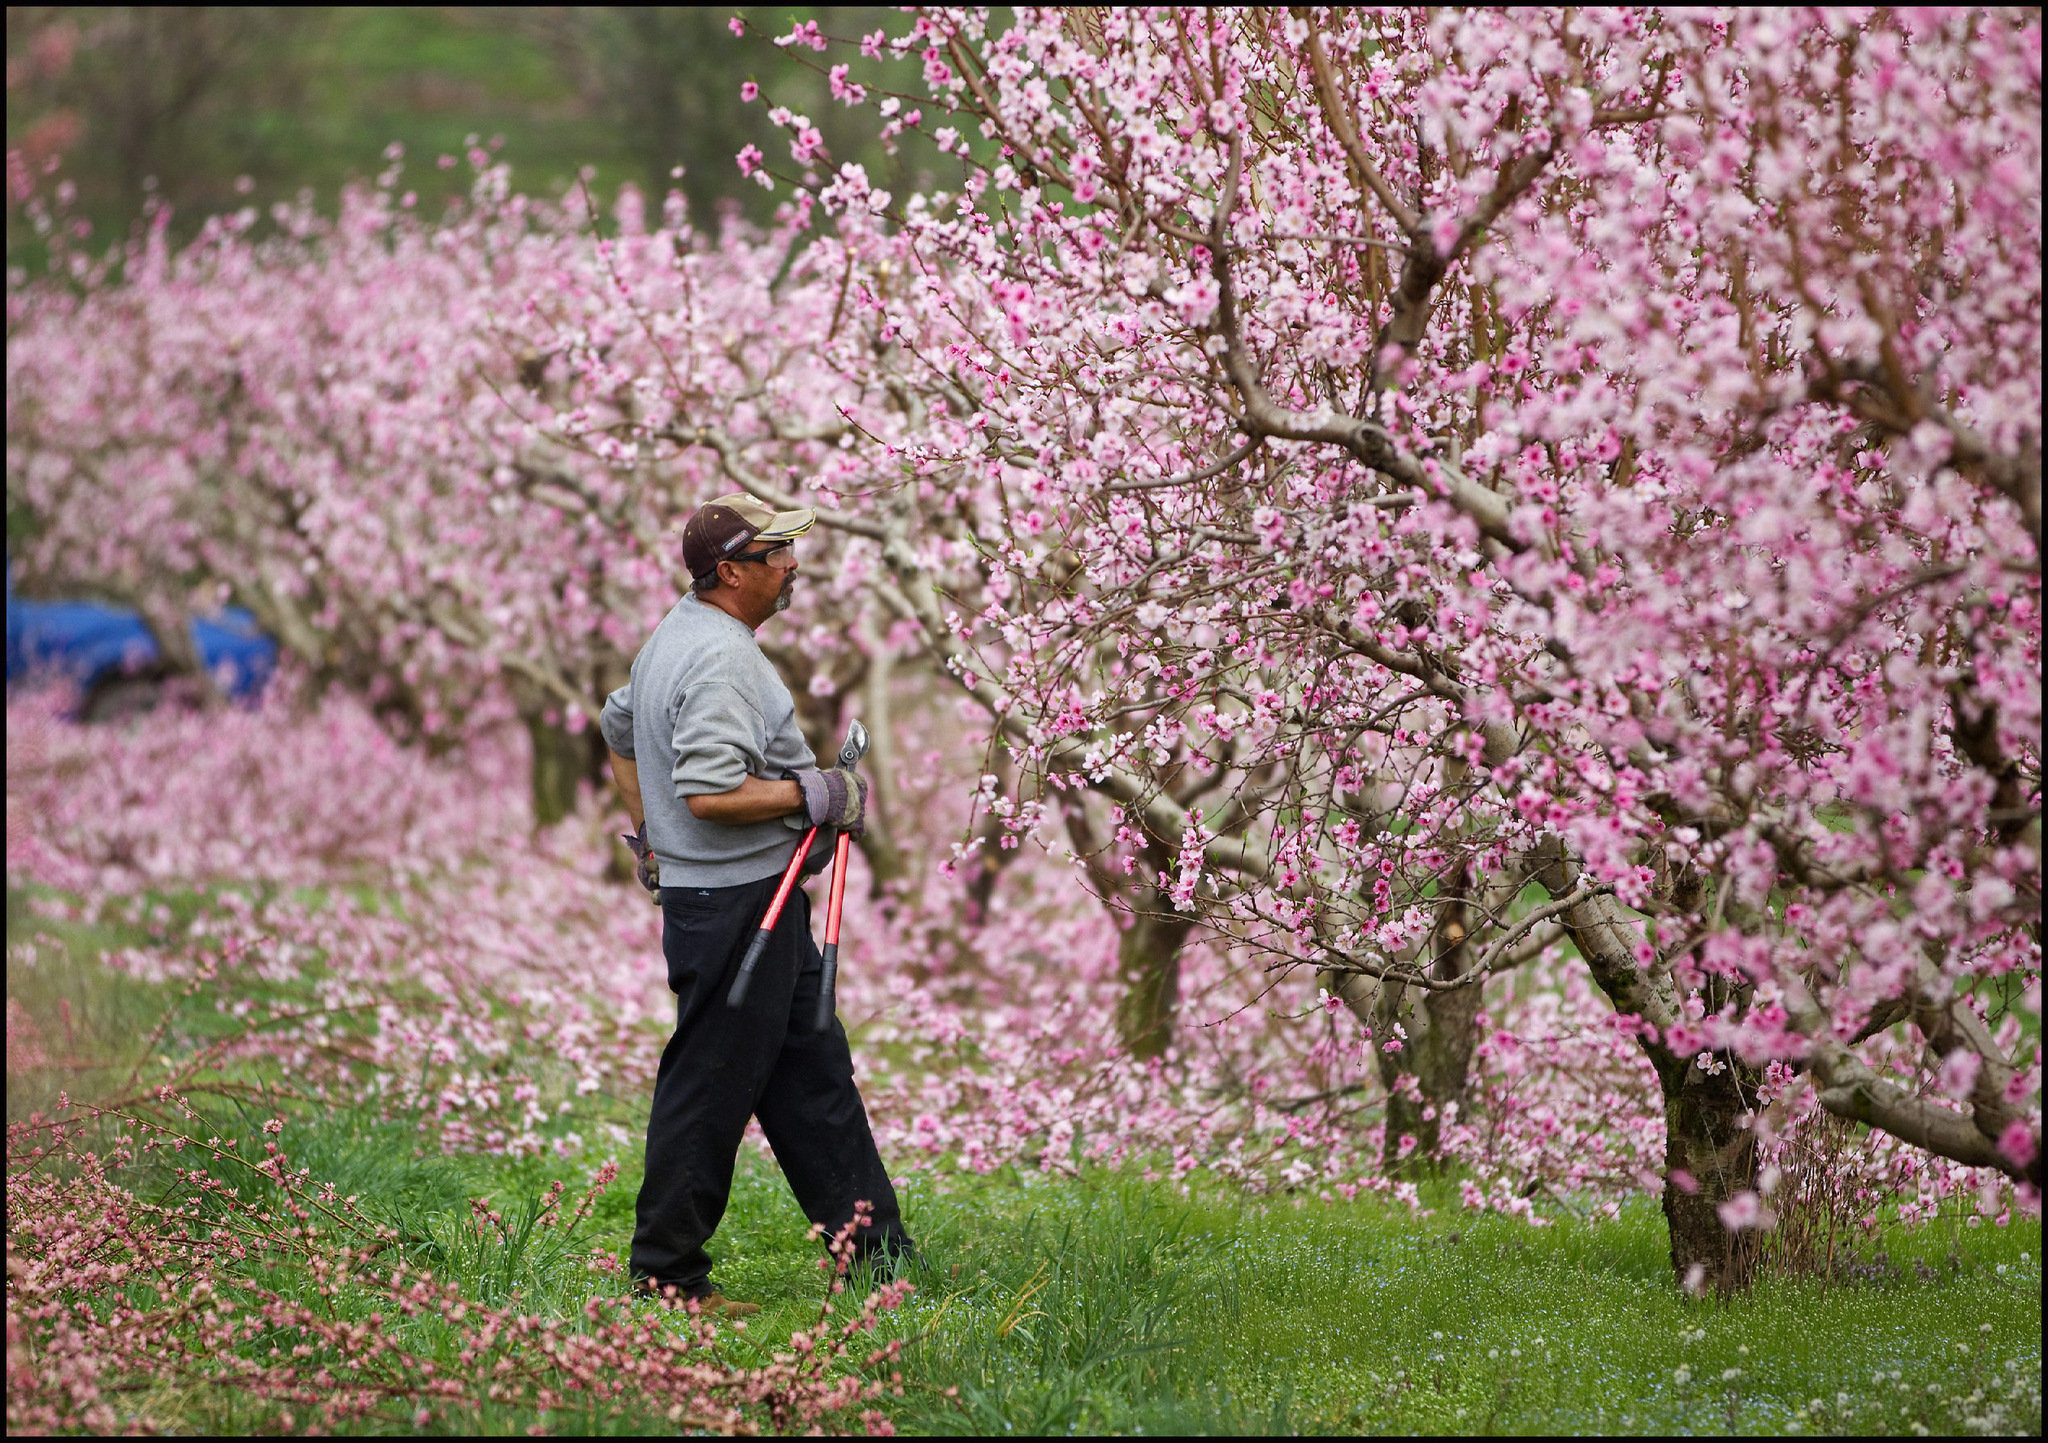
Beautiful apple trees in full bloom in early spring. Image from PennLive.com.
There is nothing quite so satisfying as eating a fresh apple. The sugar content is so much higher than what we can get in the store that a tree ripened apple is the closest we’ll ever get to Paradise. Sure, this may be a bit biased, but who doesn’t love a good apple? In the first part of this series we talked about selecting a species variety that will grow easily in your backyard. In this part of the series we are looking at how to plant and prune the tree so you have the best fruit possible from your investment. And, let’s face it, it’s worth the time investment it’s going to take to cultivate even a couple bushels of delicious apples.
Selecting a place to plant
No matter what apple tree you select, you’ll need to plant it soon after you bring it home. If you can’t, there are a few tricks Michael Parker, an extension horticultural specialist recommends for keeping the tree safe until planting time comes around.
- Wrap the roots in plastic along with moist sawdust or other item that will keep the roots damp for long periods. Then, place the tree in a refrigerator or cooler at about 40 °F. Do not store the tree with fruit and vegetables, as they release ethylene gas, which can kill any young tree.
- Dig a trench and place the tree roots evenly in it. Then, cover the roots with soil, peat (or sawdust) and water the tree thoroughly. Using this method allows you to keep the tree safe for several weeks until planting.
In fact, you should do this while you select the spot that you’ll be planting your apple tree. Russell Beiersdorfer of Beiersdorfer Orchard noted that the soil pH for apple trees is best at about 6.5, and in a place where they will get full sun as well as decent drainage. Another important part about choosing the location of your tree is that it should not be in a position where it can get overly cold or in a “frost pocket” . These are the low lying areas, near fences, wooded areas, or near buildings where cold air settles. The best place is in an open area on a slope where the cold air can easily drain away from the tree.
After you’ve found the tree’s new home, follow the general planting rule of planting the tree in a hole that is twice the diameter of the root system and about 2 feet deep. After it’s planted, water well but do not fertilize. Apple tree roots are very sensitive and can be burnt if you fertilise before the roots have a good hold in their new home.
Pruning for strong, healthy trees
Pruning is an art, but in fruit trees it’s also mandatory for a healthy tree. After the tree’s first winter just before the buds start to grow, you’ll need to cut the unbranched leader to about 3 feet above the ground. This will encourage lateral growth, which will ease care and harvesting later on down the road.
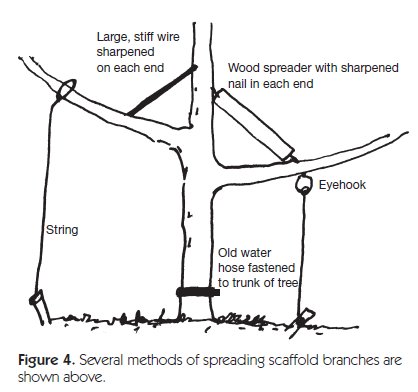
Image from the Alabama Cooperative Extension Office.
When the new growth from this cut is about 4 inches long, identify the most upright shoot to become the newest leader. Mark it (if necessary), and remove all the new shoots growing 3 – 4 inches immediately below this new leader to prevent competition. This pruning will encourage lateral growth anywhere from 6 – 14 inches below the cut tip of the tree. It will be these new branches that you will train as productive scaffold limbs starting about the time that they are anywhere between 3 and 6 inches long.
Scaffold training
Scaffolds create a stronger framework for fruit production. This is done by spreading the branches to a wider “crotch” angle of about 50 – 60°. This can be done with either toothpicks or clothespins. This angle slows vegetable growth, promote lateral branches, and allow the tree to initiate flowers (and fruit) sooner.
The importance of this cannot be understated. If a tree is improperly trained, very upright branch angles result in excessive vigor and serious limb breakage under a heavy fruit load. Larger branches can be spread out using short wooden boards with a notch cut in each end for the branch to fit into. To lower limbs into a more horizontal position, hang weights on the branch. All upright growth from scaffold branches should be either pulled down to a horizontal position or removed when it is 3 to 4 inches long .
Timing of pruning
When pruning and training the tree, timing is very important. Winter pruning will invigorate the tree and cause it to grow and branch more in the spring. This is best to do in late winter after the fear of severe freezing has past. To promote scaffolding branches cut the central leader 20 – 28 inches above the highest usable scaffold whorl, then follow the same procedure as above. This is also the time to remove dead and diseased wood as well.
There is some use in pruning during the summer as well. Doing so at this time will slow the growing in that season, which can help limit the amount of fruit on the tree and give weak branches time to strengthen. To do this, remove all undesirable branches directly across from one another that are on the central leader when they are 3 – 4 inches long, and remove select lateral branches to prevent overcrowding. This will ensure air flow is optimal for the tree. This is also the time to cut back the length of lateral growing branches so they stay within their allotted space of the yard .
Bibliography: