

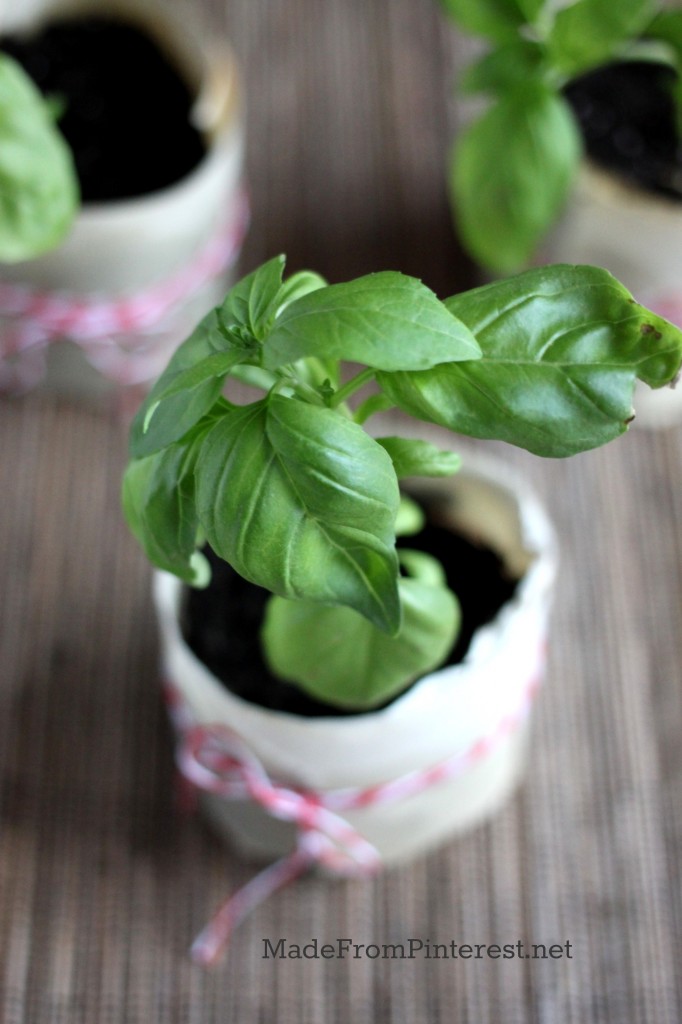
DIY paper pots from Made From Pinterest. Click the image to find how to make these gems that can go from planter to planted without unwrapping.
As I look outside and see 8 inches of snow that need to be cleared off my car, the last thing I’m thinking of is planting seedlings. But, since it often takes seedlings a month or two to really be at a place that makes it easy for planting in the garden, now is the time to start getting things together and planting those seeds.
If you’re anything like me, getting seeds together when you don’t have a greenhouse is a bit problematic. Here are some ideas on how you can start, whether you’re in a tiny apartment or a house with a garage.
If you’re in an apartment
1.) The terrarium
I have a problem with my current abode, and that is two very curious kittens and not enough space. Plus, one of them loves to eat plants and doesn’t even mind getting dirt in her hair. On top of that, I have very few windows that get sufficient light, and even less space to put a “proper” seed starting kit together. What I didn’t lack was Chinese take away containers, empty jar candles my fiancé swore he was going to use for a project two years ago, and an old plastic terrarium from a kid’s toy.
Enter, the terrarium idea.
Like any other seed starter, just add soil, seeds, and water. Poke a few holes in the top to let air exchange (or open the lids every day), and you’ve got yourself a working terrarium on the cheap to start seeds in.

The cheapest, sturdiest bookshelf out there. Tested by a generation of college students and still going.
![]() 2.) Bookshelf dividers
2.) Bookshelf dividers
I have to admit, I stole this idea from a friend of mine. Back in college my friend was looking for a creative way to parcel his studio apartment into sections to create rooms. He settled on taking a steel wire bookshelf from Walmart to divide his living room from his bedroom. On it, he put the usual suspects of memorabilia and books, but when spring came around he turned it into a mini greenhouse.
It was perfect in his setting because it allowed light from each side of the room to bounce off the seedlings within a traditional seed starting kit a lot of light without taking up much room. However, not all of us are so lucky to have windows on each side of a single room for plants. If this is the case, then you can hang grow lights from the top of the shelf to hang down. Bonus: If you have a problem with drafts keeping your seedlings cold, then you can easily place a heating pad under the seed starter trays to keep them cozy and warm while they germinate.
If you’re in a house with access to a yard
3.) The bookshelf greenhouse
Warning: This is may seem a bit ghetto, but I swear it works for a season, making it great for people on a budget or giving a greenhouse a shot before you invest. Bonus: This trick can also be used on a patio of an apartment, if you have access to one.
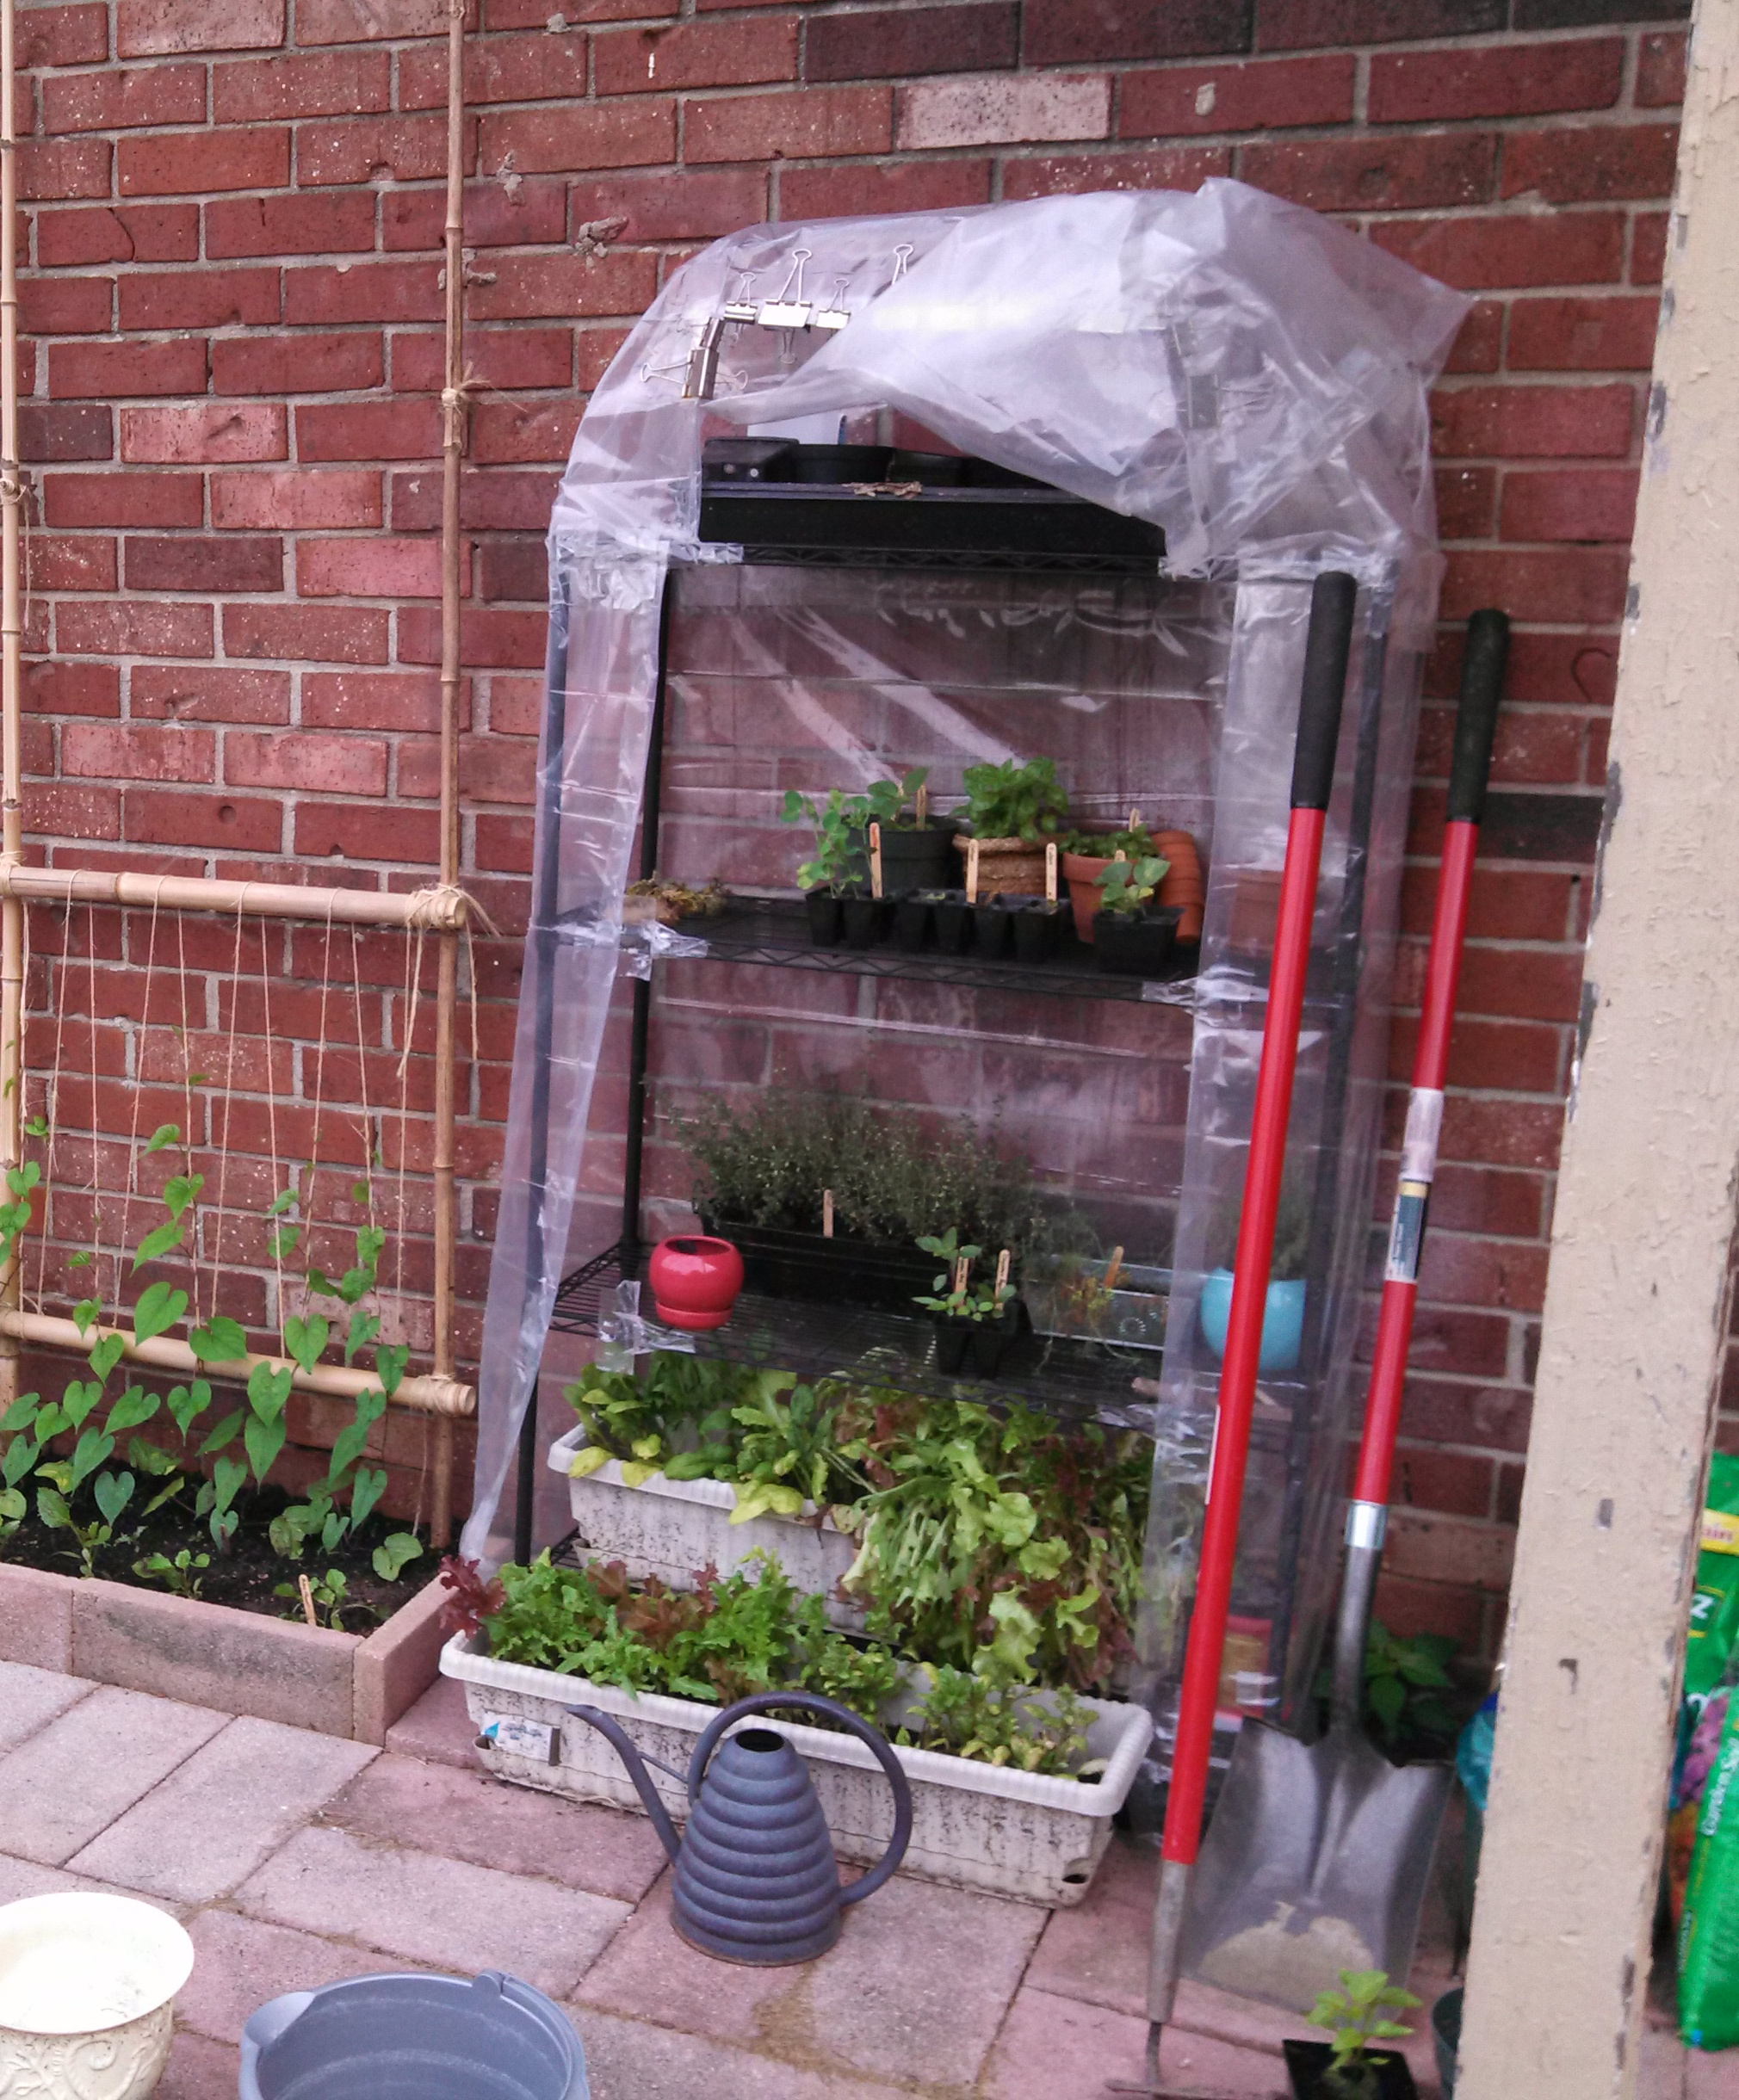
Our first greenhouse. It’s ghetto, but it got the job done.
This is a system my fiancé and I set up our first year in Indianapolis since we were just coming from uni life to start a new one as a couple. We used the same steel bookcase as above — seriously, I think all students have one, and it usually banished to garages or basements when they get older — then covered it with a layer of Painter’s Plastic Sheeting that one might used to cover a floor before painting. We held it all together with a judicial application of packing tape on every seam, followed by staples to hold it for good measure. Finally, we made a door that we could roll up just like the real greenhouses out of more plastic stapled on, then held down with office binder clips.
As long as you put a good amount of tape on the seams, it keeps the snow and cold out, warms up really during the day, and stays warm into the wee hours of the night. We found that the tape disintegrated by mid spring, but that was OK since we were just using it to start seedlings for the upcoming garden. After that, it doubled as a place to store unused pots, bags of soil, and other garden paraphernalia.
4.) The cloche
While “cloche” is French for “bell” and can refer to anything of that shape from hats to decorative glass covers for trinkets, they are also used in gardening to protect tender plants from perils of frost. They can be made of anything from heavy plastic to sheets over frames to milk jugs to upturned bowls. The key is to make sure it’s translucent enough to let some light filter in, can be secured to the ground to keep the cold out, and has a hole (or several small ones) in the top for the plant to breathe. If you go with a solid one, you’ll just have to take the cloche off for an hour or so at the warmest part of the day to let the plant breathe.
If you decide not to go with a DIY route for a cloche, you’ll find that they are surprisingly hard to find in your normal hardware store or even the local garden centre. Don’t let that put you off. You can find a wide variety of gardening cloches and tunnels on The Garden Cloche. (The feature photo is from their site, too.)